Selecting the right domain and applying consistent branding can feel like a maze for IT agency owners and email service resellers. Effective email domain management goes beyond technical setup—it is about building trust and recognizable client identities. A well-prepared foundation with integrated security, DNS automation, and white-label customization delivers a seamless branded experience. This guide covers essential steps, from choosing domains to securing communications, so you create professional email solutions your clients can rely on.
Table of Contents
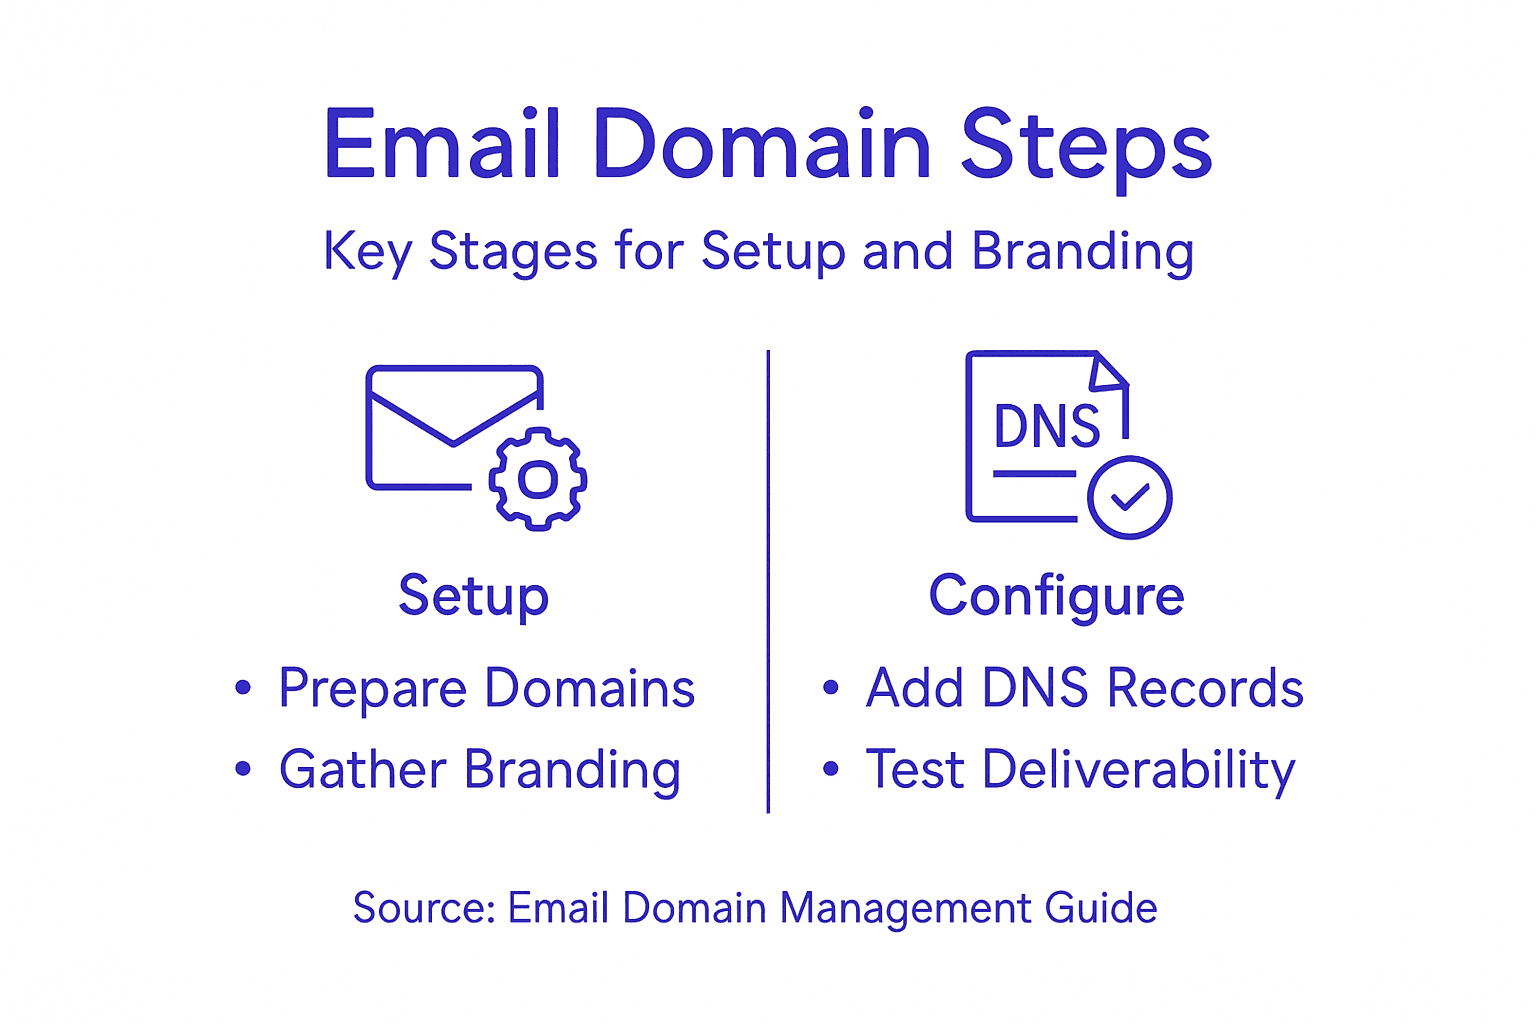
- Step 1: Prepare Domains And Gather Branding Assets
- Step 2: Configure Email Domain Settings And Automate DNS
- Step 3: Integrate White-Label Features And Api Access
- Step 4: Verify Deliverability And Secure Client Communications
Quick Summary
| Key Insight | Explanation |
|---|---|
| 1. Audit and Select Domains | Choose domains that reflect the brand identity and avoid complexity by not registering multiple similar domains. |
| 2. Gather Branding Assets Early | Collect all branding elements upfront to prevent delays during email setup and ensure consistency. |
| 3. Configure DNS Records Correctly | Set up MX, SPF, DKIM, and possibly DMARC records to ensure email security and proper deliverability. |
| 4. Implement White-Label Features | Customize all interfaces and emails to reflect the client’s brand, ensuring they receive a seamless experience. |
| 5. Validate Deliverability | Test SPF, DKIM, and DMARC settings for successful email authentication to enhance inbox placement and security. |
Step 1: Prepare Domains and Gather Branding Assets
Before your clients can send professional emails, you need to get the foundation right. This step involves selecting and preparing domains while collecting all the visual and identity elements that will make their email presence unmistakably theirs.
Start by auditing the domains you plan to use. If your clients are registering new domains, work with accredited registrars to ensure everything is legitimate and secure from the start. Avoid registering multiple similar domains unless there’s a strategic reason, as managing too many creates complexity and increases security risks.
Domain selection matters more than you might think. Your clients want domains that reflect their brand identity, not generic or difficult-to-remember names. A short, branded domain builds trust faster than a long or confusing one.
Once domains are locked in, gather these branding assets from your clients:
- Company logo in multiple formats (PNG, SVG, PDF)
- Brand color palette with hex codes
- Company name and legal entity information
- Preferred sender display name (“Company Name” vs. “Support Team”)
- Brand guidelines document if they have one
- Company website URL
- Social media handles or links
Domain oversight ensures consistency and security across all client communications. Ask your clients for written confirmation of their brand preferences now, so you’re not hunting for this information later during setup.
Check whether your clients have existing brand materials documentation. Some larger agencies already have brand guidelines; others will need to provide information piecemeal. Either way, collect everything in one place before moving forward.
Compare two approaches for branding asset collection:
| Approach | Speed | Accuracy | Client Experience |
|---|---|---|---|
| Upfront collection | Fast setup | High, all info at once | Fewer follow-ups |
| Piecemeal gathering | Slower | Potential for errors | More back-and-forth needed |
Gathering complete branding assets upfront prevents delays and revision cycles once email deployment begins.
Pro tip: Create a simple checklist template for clients listing all required branding assets and domain details. Send it before your first technical setup meeting so clients come prepared and your process moves faster.
Step 2: Configure Email Domain Settings and Automate DNS
Now that you have domains and branding assets ready, it’s time to configure the technical backbone. This step connects your client’s domain to their email infrastructure while automating security and reliability through DNS configuration.
Start by accessing your domain registrar or DNS provider’s control panel. You’ll need to point your client’s domain to the mail servers you’re providing. This happens through DNS records, which act as a directory telling the internet where email for that domain should go.
The three critical DNS records you’ll configure are MX, SPF, and DKIM records. The MX record tells mail servers where to deliver emails. The SPF record identifies which servers are authorized to send email on behalf of your client’s domain, reducing spoofing. The DKIM record adds a digital signature to outgoing emails, verifying authenticity.

Here’s what to set up:
Here’s a summary of key DNS records and their impact on email security:
| DNS Record Type | Main Purpose | Impact on Security |
|---|---|---|
| MX | Directs email delivery | Ensures correct mail routing |
| SPF | Authorizes sending servers | Reduces spoofing risk |
| DKIM | Digital signature for emails | Verifies sender authenticity |
| DMARC | Policy for failed emails | Enforces or monitors protection |
- Add MX records pointing to your email service infrastructure
- Create SPF records listing authorized mail servers
- Configure DKIM records for email authentication
- Consider adding DMARC records for additional security
Automating DNS configurations reduces manual errors and keeps your client’s email system running smoothly. Rather than manually managing updates each time, use automation tools to validate and deploy DNS records instantly.
Most modern email platforms handle this automatically. When your client adds a domain, the system generates the exact DNS records they need. They simply paste these into their registrar, and the system validates them.
Protecting DNS integrity prevents attacks like spoofing or hijacking that could compromise email deliverability. Set up monitoring to alert you if DNS records change unexpectedly.
Automated DNS validation eliminates configuration errors and speeds up domain setup from days to minutes.
Pro tip: Send your clients a simple guide with their specific DNS records already pre-filled with values they need to enter. This reduces errors and support tickets from clients copying records incorrectly.
Step 3: Integrate White-Label Features and API Access
This step transforms your email infrastructure into a fully branded experience that belongs entirely to your clients. White-labeling removes all traces of your platform, while API access automates everything behind the scenes.
Start by customizing the client-facing interface. Remove your branding from login pages, dashboards, and system-generated emails. Replace logos, colors, and messaging with your client’s brand identity. When clients log in, they should see their company name and colors everywhere, not yours.
System-generated emails like password resets and notifications need white-labeling too. These are the first touchpoints clients see, and they should reflect the client’s brand. Most modern platforms let you customize email templates directly in the admin panel.
Next, set up API access for deeper integration. API integration connects applications enabling automation of domain management, user provisioning, and reporting. Rather than your clients manually managing everything through a dashboard, your systems talk to each other automatically.
Consider automating these processes through API calls:
- User account creation and management
- Domain additions and DNS validation
- Report generation and delivery
- Forwarding rules and mailbox configuration
- Billing and usage tracking
White-label branding customization extends across login pages, emails, and dashboards for a consistent experience. This consistency builds trust and makes your clients feel like they own a professional, standalone email service.
Start with essential API integrations first. Don’t try to automate everything at once. Get user management working, then add domain automation, then tackle reporting.
White-labeled systems with API automation create a seamless experience where clients never know you’re behind the scenes.
Pro tip: Document your API endpoints and authentication methods in a client-ready guide, but keep sensitive security credentials separate and rotated regularly for each client account.
Step 4: Verify Deliverability and Secure Client Communications
Your infrastructure is configured, but emails won’t reach inboxes without proper authentication and security protocols. This step ensures your clients’ messages land where they belong and stay protected throughout transmission.
Email deliverability depends on three authentication mechanisms working together. SPF records authorize which servers can send mail from your client’s domain. DKIM records add a cryptographic signature proving the email genuinely came from that domain. DMARC policies tell receiving servers what to do with emails that fail these checks.
Start by testing SPF and DKIM configuration. Most email platforms provide testing tools that check whether records are properly deployed. Send test emails and verify they pass authentication checks before inviting your client to go live.
DMARC configuration tells the story of what happens next. You can set policies to reject suspicious emails, quarantine them, or simply monitor what’s happening. Start with monitoring mode to see the landscape before implementing stricter policies.
Here’s the security layer you need:
- Verify SPF, DKIM, and DMARC records pass validation tests
- Enable TLS encryption for email transmission
- Set up DMARC monitoring and reporting
- Test authentication with sample emails from your clients’ accounts
Authentication and encryption mechanisms build domain reputation and protect client communications from interception. TLS encryption secures the transmission channel, preventing man-in-the-middle attacks that could expose sensitive messages.
Once everything passes testing, schedule a go-live date with your client. Have them send test emails to their own team and external recipients to confirm everything works properly.
Proper authentication turns an unknown sender into a trusted one in recipients’ eyes, dramatically improving inbox placement.
Pro tip: Set up automated DMARC aggregate reports that send weekly summaries to you and your client, showing authentication pass rates and any suspicious activity patterns.
Simplify Email Domain Management with AtrioMail’s White-Label Solutions
Managing domains, configuring DNS records like MX, SPF, DKIM, and DMARC, and maintaining consistent branding across email services can be complex and time-consuming. This article highlights how critical proper domain setup and white-labeling are to ensure deliverability and trust. If you are an IT agency, reseller, or hosting provider seeking to streamline deployment and maintain full brand control without the hassle of infrastructure management, AtrioMail has the solution.
AtrioMail offers a fully managed, scalable platform with automated DNS validation and seamless API integration that empowers you to configure email domains quickly, enforce security protocols, and customize all client-facing interfaces with your brand. Eliminate manual errors and save time while delivering an enterprise-grade email hosting experience. Discover how you can increase your profit margins and provide your clients with a secure, branded email environment.
Ready to take control of your clients’ email domain management and deliver a professional branded solution effortlessly?
Explore AtrioMail’s features and start your journey towards scalable, automated, and completely white-label email hosting today by registering at AtrioMail Registration. Take the next step to empower your business and clients with reliable domain management and branded email services.
Frequently Asked Questions
How do I prepare domains for email management?
To prepare domains for email management, start by auditing your existing domains and secure new ones through accredited registrars. Make sure the selected domains reflect your brand identity and collect all necessary branding assets before proceeding with the setup.
What are the essential DNS records I need to configure for my domain?
The essential DNS records to configure include MX, SPF, and DKIM records. These records will ensure correct mail routing, reduce spoofing risk, and verify the authenticity of outgoing emails.
How can I automate DNS configuration to save time?
Automate DNS configuration by using tools that validate and deploy DNS records instantly after adding your domain. This can reduce setup time from days to minutes, allowing you to focus on other important tasks.
What should I do to white-label my email infrastructure?
To white-label your email infrastructure, remove any traces of the original platform’s branding and replace them with your client’s brand elements across all client-facing interfaces. This includes customizing the login pages, dashboards, and system-generated emails.
How can I ensure email deliverability for my clients?
Ensure email deliverability by verifying SPF, DKIM, and DMARC records pass validation tests and enabling TLS encryption for email transmission. This will help improve the chances of your emails reaching recipients’ inboxes.
What steps can I take to monitor email authentication?
To monitor email authentication, set up automated DMARC aggregate reports that summarize authentication pass rates and suspicious activity patterns. This proactive approach allows you to address issues before they affect email deliverability.